Having worked in the metal machining industry for 20 years, I’ve reviewed tens of thousands of engineering drawings. From high-precision aerospace components to tiny parts in medical devices, I’ve discovered a regrettable and widespread phenomenon:
Many excellent product designs have had their metal fabrication costs artificially increased by 20% or even 50% because they neglected “manufacturing feasibility“.
As the chief engineer at the custom metal manufacturing company, my role goes beyond simply turning your drawings into metal; I become your technical advisor. We don’t want our customers to pay for unnecessary manufacturing complexities. Today, I want to share five insider tips from a manufacturing perspective that can significantly reduce costs during the design phase.
Table of Contents
5 Critical Design Optimisation Techniques to Reduce Metal Fabrication Costs
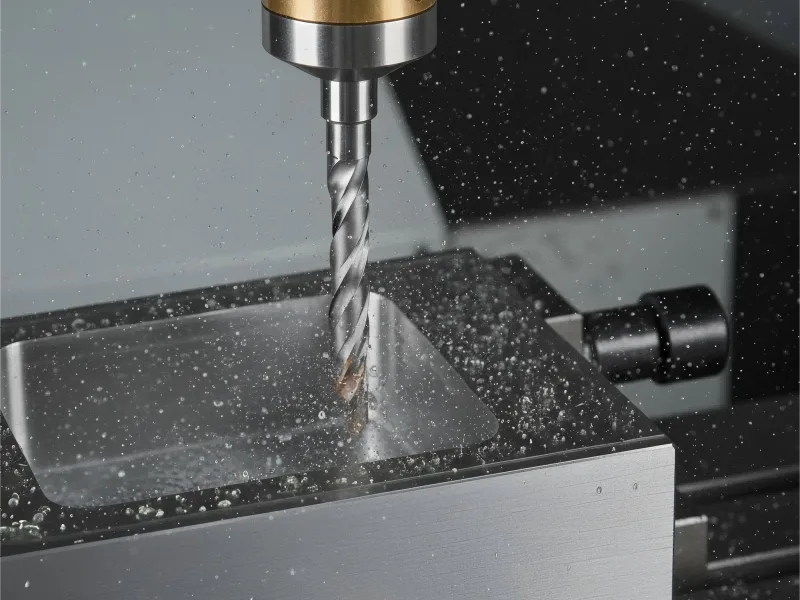
Tip 1: Re-examine your interior angles (R-angles): Don’t fight with cylindrical cutting tools.

The Problem: Sharp corners or very small radii require expensive Electrical Discharge Machining(EDM) or slow cutting with small tools.
When designing machined parts and determining the minimum inner radius of the product, you need to consider the following key factor:
1. Cutting tool diameter
The inner corner radius can never be smaller than the radius of the CNC milling cutter you are using. If the diameter of the ball-end mill or end mill you are using is D, then the smallest possible inner corner radius(R) that can be machined is: R=D/2.
For example, if you are using a 6mm end mill, the minimum internal fillet radius is 3mm.
| Application scenarios | Common tool diameters(D) | Minimum inner corner radius(R) |
| Standard industrial parts/rough machining | Φ6mm – Φ10mm | Φ3mm – Φ5mm |
| Precision molds / General finishing | Φ3mm – Φ5mm | Φ1.5mm – Φ2.5mm |
| High-precision molds/micro-machining | Φ1mm – Φ2mm | Φ0.5mm – Φ1mm |
| Miniature parts/ultra-precision machining | Φ0.1mm – Φ0.5mm | Φ0.05mm – Φ0.25mm |
2. Materials of parts and cutting conditions
Material hardness: Harder materials (such as high-strength steel and titanium alloys) require greater cutting forces. In order to avoid tool chipping or breakage, tools with larger diameters or higher strength are usually required, which indirectly limits the minimum radius.
Machining depth: If the internal angle is deep, you will need a sufficiently long tool. Long, slender tools are more prone to vibration during precision machining, which can affect dimensional accuracy. To ensure precision and surface quality, the cutting depth must be reduced, and sometimes even a larger diameter tool may be required to maintain rigidity.
3. Machine tool and spindle limitations
Maximum Spindle Speed: Extremely small tools (e.g., 0.1 mm to 1 mm) require extremely high spindle speeds to achieve the appropriate cutting line speed. If your machine tool’s maximum spindle speed is insufficient (e.g., only 10,000 RPM), you cannot effectively use extremely small tools.
Clamping Capacity: Some machine tools may not have chucks or ER collets for clamping extremely small tools (e.g., shank smaller than 3 mm).
4. Precision and surface finish requirements

Surface roughness: Generally, the smaller the radius, the slower the cutting speed, and the worse the surface finish may be. If you require a mirror finish, you may need to use a slightly larger tool for finishing.
Here is the common cross-reference list for Surface Roughness Grades (N-Grade) and the corresponding Ra values:
| Ra Value (㎛) | Ra Value (uni) | N-Grade | Example Manufacturing Process |
| 0.0125 | 0.5 | N1 | Lapping, Polishing, Superfinishing |
| 0.025 | 1 | N2 | Lapping, Polishing, Superfinishing |
| 0.05 | 2 | N3 | Lapping, Polishing, Honing |
| 0.10 | 4 | N4 | Lapping, Polishing, Honing |
| 0.20 | 8 | N5 | Lapping, Polishing, Honing, Fine Grinding |
| 0.40 | 16 | N6 | Fine Grinding, Grinding, Fine Turning/Milling |
| 0.80 | 32 | N7 | Grinding, Broaching, Fine Turning/Milling |
| 1.6 | 63 | N8 | Milling, Turning, Boring, Drilling |
| 3.2 | 125 | N9 | Milling, Turning, Boring, Drilling |
| 6.3 | 250 | N10 | Coarse Turning/Milling, Planing, Sawing |
| 12.5 | 500 | N11 | Coarse Turning/Milling, Casting |
| 25 | 1000 | N12 | Casting, Flame Cutting |
| 50 | 2000 | N13 | Casting, Flame Cutting |
In actual CNC machining, the minimum achievable internal angle (radius) depends on the machine tool configuration.
Note: In the field of micro-machining, by combining high-speed spindles (up to 60,000 RPM or even higher) and specially coated micro-tools, it is possible to machine structures with internal corner radii less than 0.05 mm (i.e., tool diameter less than 0.1 mm). However, this machining is extremely costly and places very demanding requirements on machine tools and operating environments.
Recommendation: In part design, unless for an irreplaceable special purpose, avoid designing tiny inner fillets. If assembly allows, try to make the inner corner radius R>1.5mm as large as possible. Furthermore, it’s best to design corner radii slightly larger than the tool radius. For example, if you want to use a tool with a diameter of 10mm (5mm radius), design the internal angle to be R 5.5mm. This allows the tool to smoothly transition at corners without stopping to change direction, significantly reducing machining time and tool wear.
Based on the AFI chief engineer’s years of experience, it is recommended that the inner corner radius be at least 1/3 of the cavity depth.
Tip 2: Only critical components require “strict tolerances”.
The Problem: High-precision tolerances specified across all drawings have resulted in significantly increased labor hours and reduced yield rates.
Seeing pages ±0.01mm tolerance markings on drawings is the most daunting part for me. Strict tolerances mean longer machining times, more frequent inspections, higher scrap rates, and the need for more expensive precision equipment. If you’re marking a non-assembly surface with precise tolerances just for “looks good,” you’re just throwing money away.
By implementing reasonable tolerance control in design, secondary processing and rework can be effectively avoided. Designers should set reasonable tolerance ranges based on the functional requirements and machining difficulty of the parts. For parts that do not affect functionality, tolerance requirements can be appropriately relaxed, thereby reducing machining costs.
Recommendation: For non-critical dimensions, simply indicate “Unspecified tolerances are in accordance with ISO 2768“. However, for critical shaft and hole fits and slide rail surfaces, tighter tolerances should be specified.
Tip 3: Avoid deep holes and excessively deep threads.
The Problem: Deep holes (>10 times the diameter) and full-depth threads increase the risk of tool breakage and machining difficulty.
If you design a deep hole with a length-to-diameter ratio (depth to diameter) exceeding 10:1, this falls under the category of “deep hole machining.” This requires special extended drill bits, is prone to breakage, and makes chip removal extremely difficult, resulting in an exponential increase in machining risks and costs.
Similarly, many designers habitually label threaded holes as “full-depth threads.” However, in reality, the vast majority of the bolt’s stress is concentrated on the first 3-5 threads.
Recommendation:
- Control the length-to-diameter ratio: Try to keep the hole depth within 5 times the diameter.
- Thread depth: The effective thread depth usually only needs to be designed to be 2 times the hole diameter (2 × D) or even 1.5 times the hole diameter to meet the strength requirements. Going deeper only increases the risk of tap breakage.
Tip 4: Consider standard material specifications (Stock Sizes).

The problem: The design dimensions were just over the standard material size, which meant that a larger size of material had to be purchased, and a lot of waste had to be removed.
This is the most easily overlooked “hidden cost” by designers.
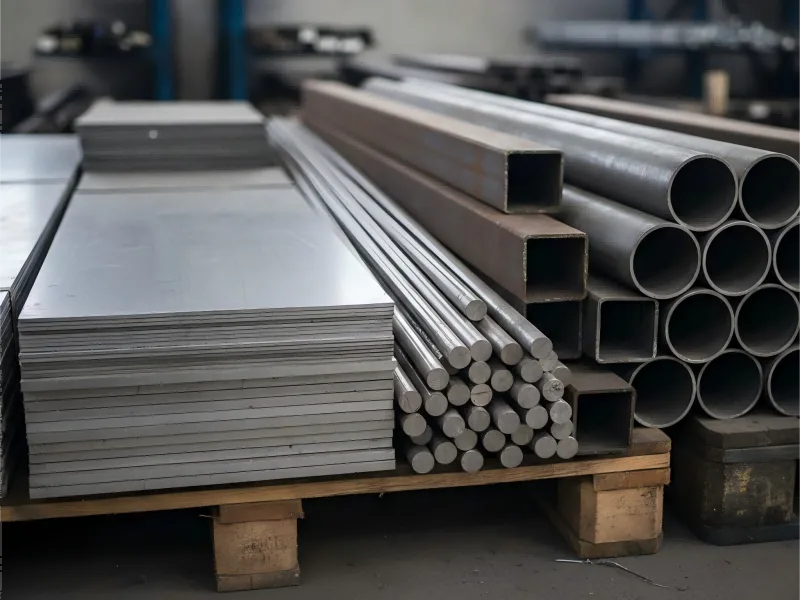
Let’s say you design a part with a final size of 52 x 52 x 52 mm. To machine it, we can’t buy 52 mm bar stock (the surface needs machining), so we might have to buy standard 60 mm bar stock and then cut off the excess 8 mm. This not only wastes raw materials but also wastes time cutting that material away.
Furthermore, if irregularly shaped materials (i.e., not the commonly used rectangular, bar, or tubular materials) are used in the design, we need to manufacture molds to produce raw materials and then perform machining. The increased mold costs and raw material production time will undoubtedly significantly increase the product cost.
Recommendation: In the early stages of design, product designers should first familiarize themselves with common standard metal bar or sheet metal specifications on the market (such as 10mm, 20mm, 25mm, 50mm, etc.). If the design allows, the finished product size should be set slightly smaller than the standard specification (for example, design for 48mm instead of 52mm, so that we can use 50mm material).
In addition, without affecting product functionality, simplify the overall structure of parts and avoid using irregularly shaped materials, thereby better controlling parts manufacturing costs.
Tip 5: Thin-walled structures are a nightmare for processing.
The problem: Thin walls cause machining vibration (chatter) and deformation, requiring special fixtures and slow machining speeds.
Whether metal or plastic, thin-walled parts experience vibration (chatter) during machining, resulting in poor surface finish and difficulty in dimensional control. To prevent deformation, we not only need to slow down the cutting speed but also design special fixtures to gently clamp the parts. All of this increases machining time and costs.
Recommendation:
- Increase wall thickness: For metal components, maintain a wall thickness of at least 0.8mm (the exact thickness depends on the material; thicker is recommended for aluminum alloys).
- Reduce aspect ratio: The thinner the wall, the lower its height should be.
Why are We Telling You This?
You might ask, “You make your money from processing fees, so why would you teach me to reduce costs?”
Because at AFI Industrial Co., Ltd., we believe in long-term partnerships, not one-off transactions.
With 20 years of experience, I know that only when your products are cost-competitive in the market will your orders flow in continuously, and only then can our cooperation last.
Summery
We analyzed five design techniques that can reduce processing costs by 30%:
- Correct setting of inner corner radius.
- Non-critical dimensions are set to ISO standard tolerances.
- Avoid designing excessively deep threaded holes.
- Using raw materials of standard shapes and sizes.
- thin-wall machining.
These techniques allow product designers to optimize processes from the design stage, helping customers achieve higher cost-effectiveness while ensuring product quality.
What Can We Do Next for You?
If you happen to have a new project or an old product with persistently high costs, feel free to send it to us for a look.
Free DFM Diagnostic Service: Send us your 3D drawings/engineering diagrams, and our engineering team will provide you with a free Design for Manufacturability (DFM) analysis report within 24 hours. We not only provide quotes, but also, as this article demonstrates, point out those “expensive” design details on your drawings and offer optimization solutions.
Get an expert quote that includes optimization suggestions.
FAQ
The cost of metal fabrication is generally driven by four key elements:
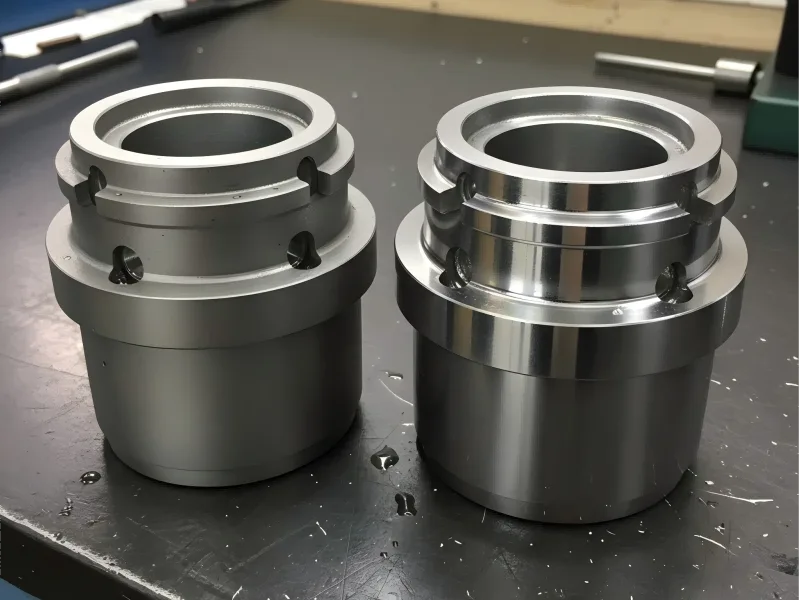
Surface Finishing: Post-processing treatments like powder coating, plating, or anodizing add both time and cost to the final invoice. Pro-Tip: Applying Design for Manufacturing (DFM) principles early in the design phase is the most effective way to control these variables.
Material Choice: The market price of the raw material (e.g., Aluminum, Stainless Steel, Carbon Steel) and the efficiency of its utilization.
Labor Costs: The total man-hours required for programming, machine setup, manual welding, or assembly.
Design Complexity: The number of bends, hole density, and whether custom tooling or specialized fixtures are required.
This is primarily due to Setup Costs. Every job requires engineering time for programming, machine calibration, and tool preparation, regardless of whether you order 1 part or 1,000.
Prototyping: These fixed setup costs are absorbed by a few units, resulting in a high price per part.
Mass Production: Fixed costs are amortized across a large volume, and high-speed automation can be utilized, significantly driving down the individual unit price.
You can optimize your budget by focusing on three areas:
Relax Tolerances: Only specify tight tolerances for critical mating features. Over-engineering non-essential dimensions increases inspection time and scrap rates, driving up costs.
Simplify Bends: Try to keep bend radii consistent to minimize the need for tool changes.
Use Standard Gauges: Design with “off-the-shelf” material thicknesses. Custom or rare gauges are more expensive and have longer lead times.
The “best” material depends on your application, but from a cost perspective:
Carbon Steel: Generally the most budget-friendly option, ideal for structural parts where high strength is needed but corrosion isn’t a primary concern.
Aluminum: Mid-range pricing. It is lightweight, corrosion-resistant, and fast to machine, which can sometimes offset the higher raw material cost.
Stainless Steel: The most expensive due to high raw material prices and increased difficulty in machining and welding.
Note: If your part requires painting anyway, using carbon steel instead of stainless steel is often a smarter cost-saving choice.
Surface finishing is about more than just aesthetics; it provides essential protection against rust and wear.
- Cost Impact: Finishing typically adds 10% to 30% to the total cost, depending on the process and part size.
- Budget Strategy: Some processes (like plating) have minimum order charges. If the part is for internal use and aesthetics don’t matter, choosing a “Mill Finish” (raw state) is the best way to save money.
Rush orders involve more than just “jumping the line.” They incur additional operational costs:
- Logistics: Premium shipping fees to get raw materials to the factory overnight.
- Disruption: Interrupting scheduled production runs requires machines to be reset twice, leading to lost capacity.
- Overtime: Labor costs increase if staff must work outside regular hours to meet your deadline. Recommendation: Planning your requirements 2–4 weeks in advance is the simplest way to avoid rush fees.


