By the Senior Engineering Team at AFI Parts
In the world of custom metal parts machining, “Zero Tolerance” is a theoretical myth that creates tangible nightmares. As senior engineers at AFI Parts, we frequently review drawing packages where a geometric dimension is specified with limits so tight they defy the laws of physics and thermal dynamics available in a standard commercial environment.
While the pursuit of perfection is noble, the pursuit of “zero tolerance”—or statistically insignificant error margins without functional justification—is a fast track to manufacturing failure. It implies a misunderstanding of Process Capability (Cpk) and introduces exponential cost curves that can cripple a project’s budget before the first chip is cut.
This comprehensive guide breaks down the engineering reality behind tight manufacturing tolerances, supported by our shop floor data, ISO standards, and decades of machining experience.
Table of Contents
Cost Impact Of Zero Tolerances
The relationship between machining tolerances and manufacturing cost is not linear; it is exponential. When an engineer moves from a standard ±0.005″(±0.127mm) tolerance to a precision ±0.0005″ (±0.0127mm), they are not simply asking for “better” work; they are requiring a completely different manufacturing methodology.
Escalating Costs In Manufacturing
At AFI Parts, we utilize a Cost-Tolerance Geometric Model to estimate quoting risks. Our internal data indicates that tightening a tolerance by one order of magnitude (e.g., from IT10 to IT6 in the ISO system) typically results in a cost multiplier ranging from 2x to 24x.
Why does this multiplier exist? It is the sum of three distinct operational escalators:
- Machine Rate & Cycle Time: Standard tolerances allow for high-feed roughing and a single finish pass. Tight tolerances require “spring passes” (repeating a cut to remove tool deflection), slower feed rates to minimize vibration, and often a secondary grinding operation. A part that takes 10 minutes to machine at ±0.005″ might take 45 minutes at ±0.0005″.
- Thermal Stabilization: To hold tolerances below ±0.0005″, material cannot simply be pulled from the rack and machined. It requires “soak time” in a temperature-controlled environment to reach thermal equilibrium. For large aluminum plates, this can add 24 hours to lead time, directly impacting overhead costs.
- Scrap & Yield Rate: In a standard run, our yield might be 99.5%. When chasing near-zero tolerances, process capability drops. If the yield drops to 80% due to hyper-strict requirements, we must machine 25% more raw material to ensure the delivery quantity. You pay for the parts we throw away.
The “2 to 24 Times” Reality: Many engineers choose tight tolerances, assuming it guarantees quality. However, cost data confirms that once you surpass the “Standard Machining Zone” (typically ±0.005″), costs skyrocket.
- Zone 1 (Standard): ±0.005″ – Base Cost (1x)
- Zone 2 (Precision): ±0.001″ – Elevated Cost (2-4x)
- Zone 3 (Ultra-Precision): ±0.0002″ – Exponential Cost (10-24x)
Manufacturing Tolerances And Financial Burden
The financial burden extends beyond machine time into Consumables and Tooling.
In standard machining, a carbide end mill can be pushed until it shows visible flank wear. In high-precision machining, tool life is dictated not by failure, but by radius reduction.
A Real-World Engineering Example:
Consider a project we processed at AFI Parts involving 316 Stainless Steel shafts.
- Scenario A: Tolerance ±0.002″. We used one carbide insert for every 50 parts. The tool wear offset was adjusted once per hour.
- Scenario B: Tolerance ±0.0002″. We had to change the insert every 5 parts because the microscopic wear on the tool tip caused the diameter to drift out of spec.
- Result: Tooling costs increased by 1000%, and machine downtime for tool changes reduced daily throughput by 40%.
Furthermore, tight tolerances often necessitate Advanced CNC Equipment. Standard 3-axis mills cannot reliably hold positional tolerances of 0.0005″ over long distances due to volumetric errors. We must utilize high-end 5-axis machines or Jig Grinders, which have hourly rates 2x to 3x higher than standard vertical machining centers.
Tolerance Stackup And Assembly Expenses
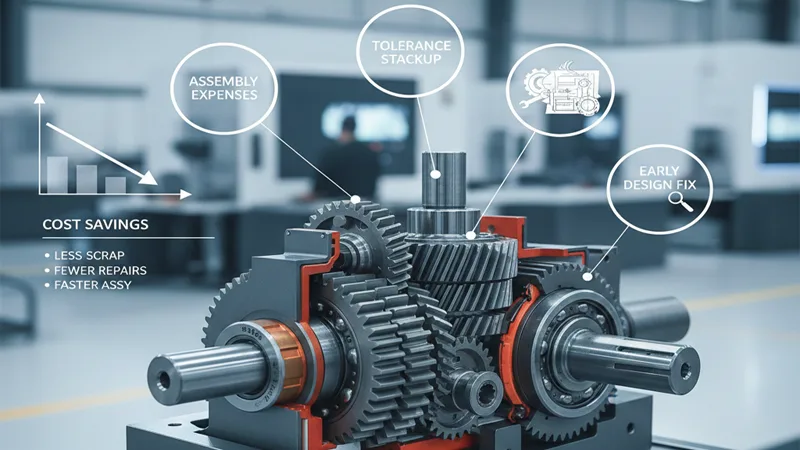
The most insidious cost of tight tolerances is often found in Assembly, driven by poor Tolerance Stackup Analysis.
Tolerance stackup is the accumulation of variations in a specific dimension. Engineers often over-tolerate individual components to “be safe,” assuming that if every part is perfect, the assembly will be perfect. This is a “Worst Case” methodology that leads to unnecessary expense.
The Statistical Approach (RSS): Instead of applying zero-tolerance logic to every part, we recommend Root Sum Square (RSS) analysis.
By understanding that it is statistically improbable for every part in an assembly to be at the extreme limit of its tolerance simultaneously, you can loosen individual part tolerances while still ensuring the assembly fits.
AFI Parts Case Study:
A client requested a mating shaft and bore.
- Original Design: Shaft ±0.0001″, Bore ±0.0001″. Cost per set: $150.
- The Problem: The assembly failed because of surface finish friction, not size.
- The Fix: We changed the tolerance to ±0.0005″ (easier to machine) but added a specific surface finish requirement (Ra 0.8㎛).
- Result: Cost dropped to $65 per set, and assembly was smoother.
Tolerance stackup issues can make assembly impossible, but blind tightening of tolerances is rarely the correct engineering solution.
Process And Complexity Challenges
When we receive a print with “zero” or hyper-tight tolerances, we don’t just see numbers; we see a fight against environmental physics. Manufacturing constraints are real, and ignoring them in the design phase guarantees production issues.
Manufacturing Constraints
There is no such thing as a perfectly rigid machine or a perfectly stable material.
1. Thermal Expansion (The Silent Killer):
All metals expand when heated. The coefficient of thermal expansion for Aluminum 6061 is approximately 23.6㎛ / (m•K).
- If we are machining a 10-inch (254mm) part and the shop temperature rises by just 5℃ (a common fluctuation in non-climate-controlled shops), that aluminum part will grow by approximately 0.0012″ (30 microns).
- If your tolerance is ±0.0005″, the part is already scrap just because the sun came out. At AFI Parts, we control this, but it adds immense complexity and cost.
2. Material Stress Relief:
Raw metal stock contains internal residual stresses from the rolling or extrusion process. As we machine away material (“skinning” the part), these stresses are released, causing the part to warp or bow.
- The Zero Tolerance Conflict: To hold a flatness of 0.001″ on a large plate, we must machine one side, flip it, machine the other, let it rest (normalize), and then take a final skim cut. This triples the setup complexity.
Quality Control Issues
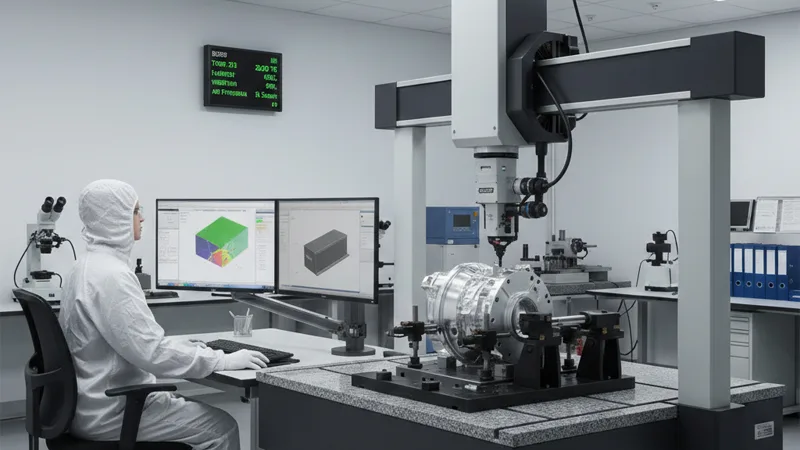
You cannot manufacture what you cannot measure. One of the biggest hurdles in pursuing zero tolerances is the Metrology Gap.
The Rule of Ten:
Standard metrology doctrine states that your measuring instrument must be 10 times more accurate than the tolerance you are checking.
- To check a tolerance of ±0.001″, we need a caliper accurate to ±0.0001″. (Feasible).
- To check a tolerance of ±0.0001″, we need a device accurate to ±0.00001″. (Requires a lab-grade CMM or Air Gaging).
Many manufacturing shops utilize Coordinate Measuring Machines (CMMs), but even these have uncertainty limits. If a CMM has a volumetric accuracy of 2㎛, it cannot reliably certify a part with a total tolerance band of 3㎛.
The Inspection Bottleneck:
When tolerances are tight, we cannot rely on sampling (AQL). We must perform 100% inspection. This means every single dimension on every single part is measured.
- For a 100-piece run of complex aerospace housings, inspection time can actually exceed machining time. We have to slow down machines to reduce vibration and add significantly more checks, turning a production run into a lab experiment.
Machining Tolerances And Production Delays
Tight tolerances are the primary enemy of Just-In-Time (JIT) manufacturing.
The Setup Spiral: In a standard tolerance job, a machinist sets the Work Coordinate System (G54), touches off tools, and runs the first part. In a tight tolerance job, the machinist must:
- Warm up the spindle for 30 minutes to stabilize thermal growth.
- Perform a “cut-measure-compensate” iteration on a test coupon.
- Check runout on every tool holder.
- Monitor coolant concentration (Brix) because changes in lubrication affect cutting pressure and dimension.
These steps create massive bottlenecks. If a part is out of spec, it often cannot be reworked—it is scrapped. If we scrap a part at the final operation of a 5-step process, we lose weeks of lead time.
Culture of Fear: Hyper-strict tolerances create a “Culture of Fear” on the shop floor. Machinists become hesitant to hit the “Cycle Start” button. They double and triple-check setups, slowing throughput. While caution is good, paralysis is bad for business.
When Tight Tolerances Matter
We are not arguing against precision. As a premier manufacturer, AFI Parts specializes in precision. The key is Contextual Precision. There are specific industries and applications where tight tolerances are non-negotiable and worth the premium.
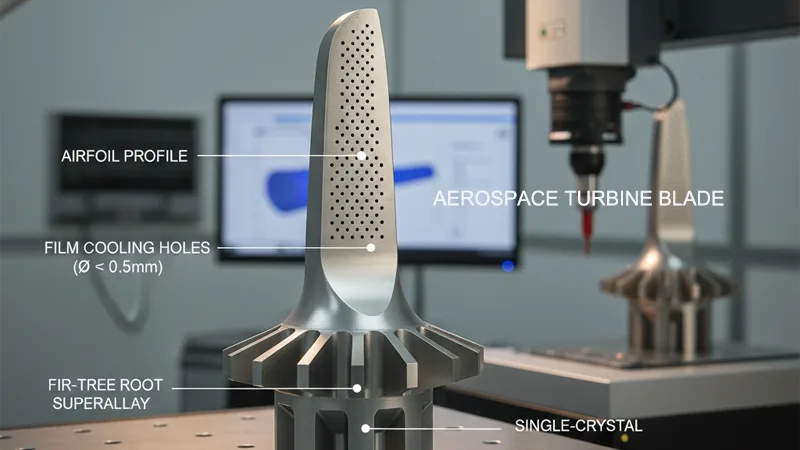
Critical Machining Tolerances In Key Industries
1. Aerospace & Aviation: In a turbine engine, the clearance between the blade tip and the casing determines efficiency. A gap that is too large destroys fuel economy; a gap that is too small risks catastrophic engine failure during thermal expansion. Here, a tolerance of ±0.0005″ is a safety requirement, not a suggestion.
2. Medical Devices: Surgical implants and instrumentation require perfect interchangeability. A bone screw must fit a plate within microns to ensure structural integrity inside the human body. FDA regulations demand Process Capability (Cpk > 1.33), which necessitates tight tolerancing.
3. Defense & Optics: Targeting systems and optical housings require “alignment tolerances.” If a lens is off-center by $0.001″$, the laser targeting system might be off by meters at a distance of 5 kilometers.
Over-Specification In Everyday Products
The problem arises when these aerospace-level tolerances are applied to consumer goods or non-critical structural brackets.
The “Title Block” Error:
Many “Zero Tolerance” nightmares originate from the default settings in CAD software or a generic company title block.
- Example: A title block might say “Unless otherwise specified: 3 decimal places (±.005″), 2 decimal places (±.010″)”.
- An engineer models a hole at 0.250″ (3 decimal places). The CAD defaults to the tight tolerance.
- In reality, this hole is for a bolt clearance and could be ±0.010″.
- Result: We are forced to ream or bore the hole (expensive) instead of drilling it (cheap), purely because of a clerical oversight.
Customers often return parts or reject them based on dimensions that do not affect function, simply because the print said so. This “paper failure” causes delays and friction between the client and the supplier.
Balancing Function And Cost
The hallmark of a senior engineer is knowing where to loosen the reins.
Functional Tolerancing: We advocate for Geometric Dimensioning and Tolerancing (GD&T). GD&T allows for functional tolerancing, such as “Maximum Material Condition” (MMC).
- MMC allows the tolerance to loosen as the hole size gets larger (bonus tolerance).
- This ensures the part fits without forcing the machinist to hit a static number that is tighter than necessary.
You can save money by focusing on what matters. Is the surface a sealing surface? Tight tolerance. Is it a cosmetic cover? Open tolerance.
Supply Chain And Lead Time Effects
Global supply chains are fragile. Introducing unnecessary precision requirements adds friction to an already stressed system.
Sourcing Precision Parts
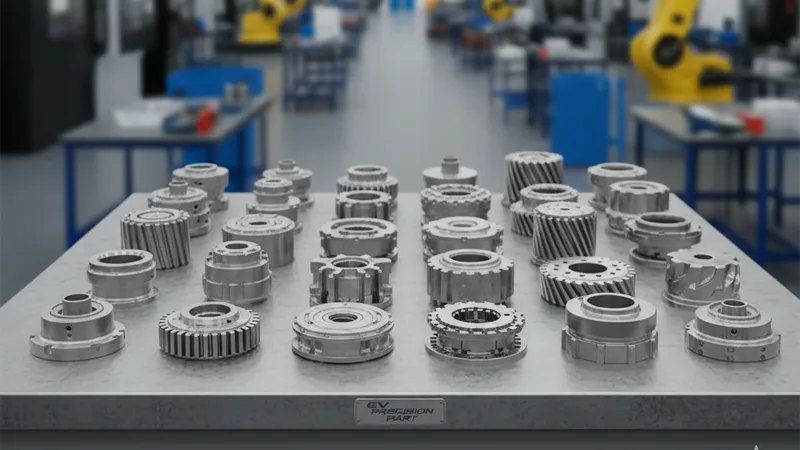
Not every machine shop can hit “Zero Tolerances.” When you specify ultra-precision, you reduce your pool of available vendors from 10,000 to 100. You might be forced to source from specialized boutique shops in Germany, Japan, or Switzerland.
- Risk: Single-source dependency. If that one shop has a machine breakdown, your production line stops.
- AFI Parts Advantage: We have invested in the equipment to handle these parts, but we always advise clients on the lead time implications.
Delays From Tight Machining Tolerances
Time is money.
- Standard Parts: Can often be machined, tumbled, and shipped in 2-3 weeks.
- Precision Parts: Require roughing, stress relief (1 week), semi-finishing, varying inspections, and often external processes like jig grinding or honing. Lead times easily stretch to 8-12 weeks.
Tight machining tolerances make production slower. The setup times are longer, the run times are longer, and the queue times for the high-precision machines are longer.
Industry Case Study: Electronics
In the semiconductor and electronics chassis industry, we often see requirements for Flatness and Parallelism on heat sinks.
- The Challenge: A customer requires a large aluminum heat sink (12″ x 12″) to be flat within 0.001″ to ensure contact with a PCB.
- The Reality: Aluminum naturally bows when machined. To achieve this, we must use vacuum fixtures and perform slow fly-cutting operations.
- The Delay: If the design had allowed for a thermal gap pad (allowing a 0.005″ flatness), the parts could have been made 50% faster. Because of the strict requirement, the project faced a 4-week delay while we perfected the clamping strategy to prevent part distortion.
Smarter Tolerance Decisions
How do we move from “Zero Tolerance Nightmares” to “Manufacturing Success”? As your manufacturing partner, AFI Parts recommends the following frameworks for your design process.
Specifying Machining Tolerances Effectively
We recommend a Tiered Tolerance Strategy:
- Critical Interfaces (ISO IT6 – IT7):
- Where: Bearings, press fits, sealing surfaces, alignment pins.
- Action: Use specific tolerances (e.g., +0.0000/-0.0005″) and add GD&T symbols like Circularity or Cylindricity.
- Cost: High, but justified.
- Locating Features (ISO IT8 – IT10):
- Where: Bolt patterns, sliding fits, mating brackets.
- Action: Use standard tolerances (e.g., ±0.005″). Use Position tolerancing with MMC.
- Cost: Moderate / Standard.
- Non-Critical / Atmosphere (ISO IT11+):
- Where: External walls, aesthetic fillets, air clearance.
- Action: Use “Stock” dimensions or open tolerances (e.g., ±0.010″ or “Reference Only”).
- Cost: Low.
Use standard tolerance blocks for parts that are not critical. Do not let your CAD software dictate your costs.
Collaboration With Suppliers
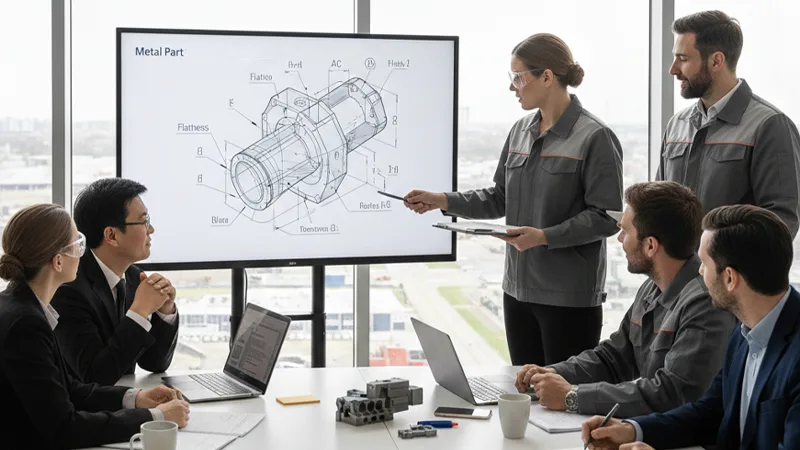
The best time to talk to AFI Parts is before you finalize the drawing.
Early Supplier Involvement (ESI): Working with suppliers from the start helps you get better results. Send us your concept model. Our engineers can run a DFM (Design for Manufacturability) analysis. We might say:
- “If you change this internal corner radius from 1mm to 3mm, we can use a standard end mill instead of a fragile micro-tool, saving you 20%.”
- “If you loosen the outside diameter tolerance, we can finish this part in one operation on a lathe instead of moving it to a grinder.”
Clear and simple tolerance rules, utilizing ASME Y14.5, eliminate ambiguity. A drawing should be a clear contract, not a puzzle.
Cost-Benefit Analysis
Engineers must act as economists. Perform a Cost-Benefit Analysis on your tolerances.
The “Cost of Quality” Curve: Imagine a graph where the X-axis is Tolerance Precision and the Y-axis is Cost.
- The curve is flat for a long time.
- As you approach the limits of the machine’s capability, the curve goes vertical (asymptotic).
- Your Goal: Stay on the flat part of the curve unless the function absolutely demands you climb the vertical slope.
Count costs and benefits for each tolerance choice. Is the extra $50 per part worth the slightly better fit? Often, the answer is no.
Conclusion
At AFI Parts, we pride ourselves on our ability to hit tight tolerances when they are necessary. We have the 5-axis machines, the CMMs, and the skilled senior engineers to deliver aerospace-grade precision.
However, we also believe in being partners in your success. A design filled with unnecessary “Zero Tolerances” is not a sign of rigorous engineering; it is a sign of unoptimized design. It drives up costs, increases waste, and delays your time-to-market.
By understanding the physics of manufacturing, utilizing GD&T effectively, and collaborating with your machining partner early in the design phase, you can avoid the nightmare. You can achieve parts that fit, function, and fit your budget.
Ready to optimize your next project? Contact the engineering team at AFI Parts today for a DFM review of your drawings.
FAQ
While “Zero Tolerance” literally means no allowable deviation, in manufacturing, it refers to tolerances that are so tight they approach the limits of measurement and process capability (e.g., ±0.0001″ or less). It implies a requirement for perfection that is statistically impossible to maintain without 100% inspection and high scrap rates.
The cost spike is driven by the need for specialized equipment (Jig Grinders vs. Standard Mills), environmental controls (thermal soak times), high-cost consumables (frequent tool changes), and exponential increases in inspection time (100% CMM verification).
Strict tolerances create bottlenecks. They limit the number of capable suppliers, require slower machining feed rates, demand time-consuming stress-relief processes, and often require off-site secondary operations like lapping or grinding, adding weeks to delivery.
Only specify tight tolerances for critical features that affect safety, performance, or alignment. Examples include bearing journals, high-speed rotating shafts, interference fits, and optical sealing surfaces.
Tolerance stackup is the cumulative effect of variations in an assembly. Instead of simple addition (Worst Case), we recommend using Root Sum Square (RSS) analysis to predict the statistical probability of fit, allowing for looser individual tolerances while maintaining assembly integrity.
Materials like plastics (Nylon, Delrin) move significantly with temperature and moisture, making them poor candidates for tight tolerances. Metals like Aluminum expand with heat. For “Zero Tolerance” applications, materials with low thermal expansion coefficients (like Invar or Titanium) are often required, which further increases cost.

